To clear or delete the font cache, you must delete all the font cache files. However, these files are locked and in use by the Font Cache Windows Service. So, we need to stop that service to unlock the files and then delete them. Though it sounds complicated, it is pretty easy to do. Follow the below steps, and it will be done in a jiffy.
Here are the steps to delete font cache files and rebuild font cache:
After restart, Windows automatically rebuilds the Font cache.
Same steps with a bit more detail and screenshots:
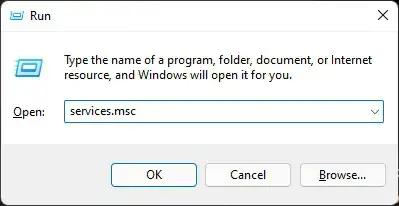
First, we need to stop the Font Cache service. You can do that using the Windows Services tool. So, open the Run dialog box with the “Start key + R” shortcut, type “services.msc” in the blank field, and click the “Ok” button. You can also search for the same in the Start menu.
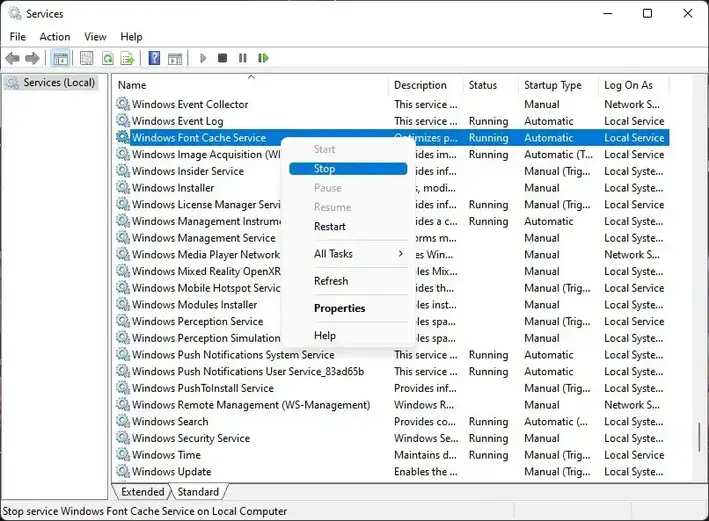
After opening the Services tool, find the “Windows Font Cache” service, right-click on it and select the “Stop” option. This action will stop the Windows Font Cache service instantly.
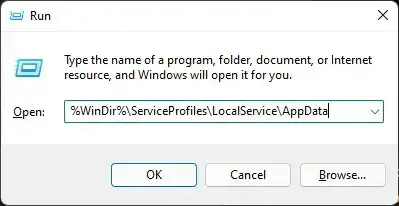
After that, open the Run dialog box again. You can do that using the “Win + R” keyboard shortcut. Paste “%WinDir%\ServiceProfiles\LocalService\AppData” in the dialog box and press the “Ok” button.
If you see an administrator prompt, click the “Continue” button.
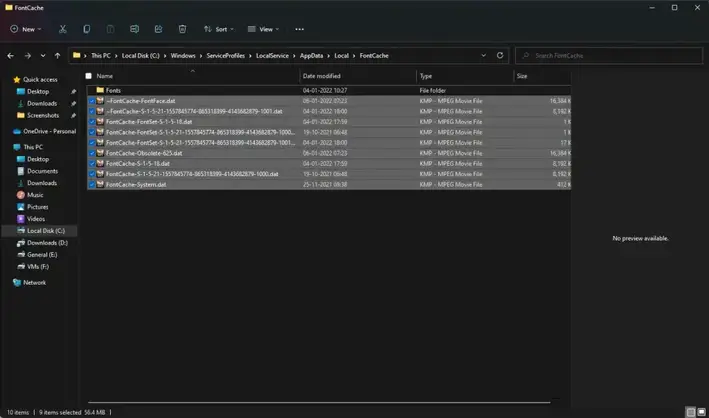
In the AppData folder, go to the “Local > FontCache” folder. This is where all the font cache files a relocated.
Here, select all the font cache files and delete them. Font cache files start with the “FontCache” or “~FontCache” name.
After that, close the File Explorer and Services window and reboot the computer.
After rebooting, Windows 11 will automatically start the font cache service, scan the system for fonts, and create new font cache files. Essentially, Windows 11 will automatically rebuild the font cache files for you. You don’t have to do that manually.